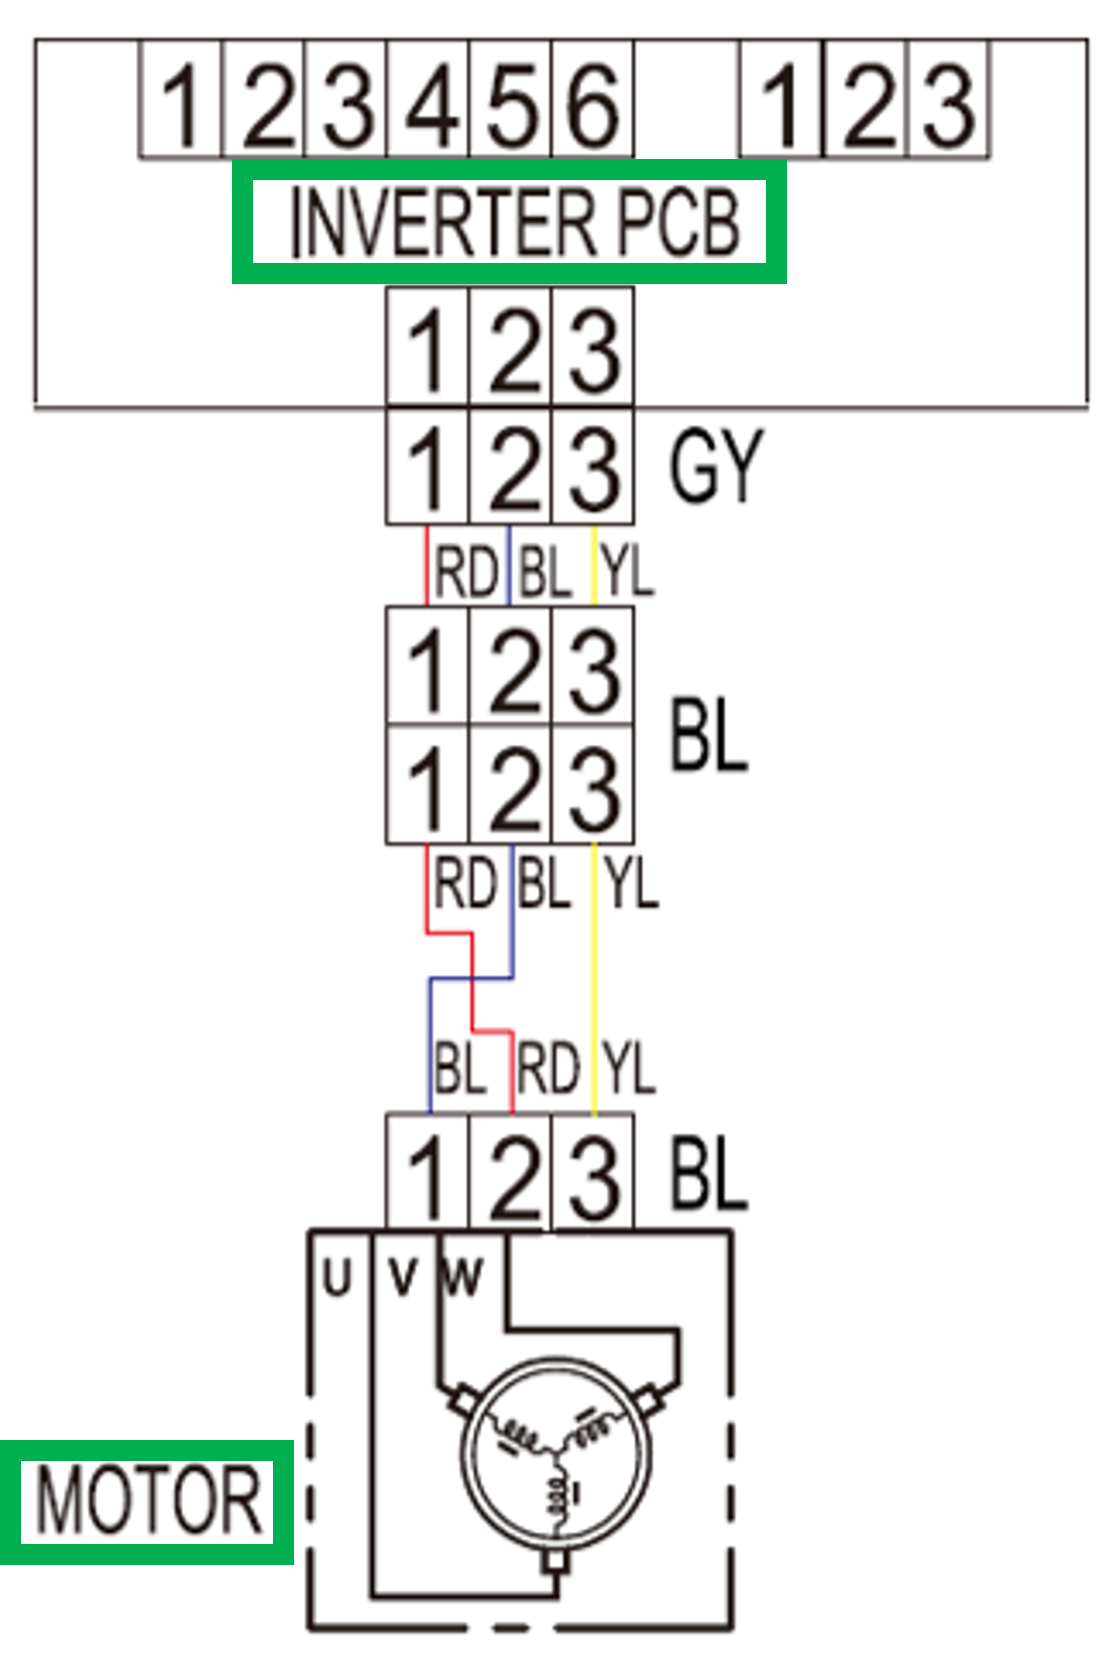
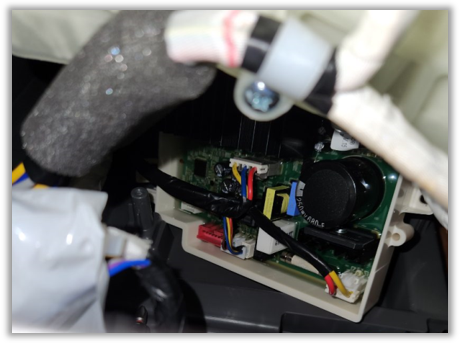
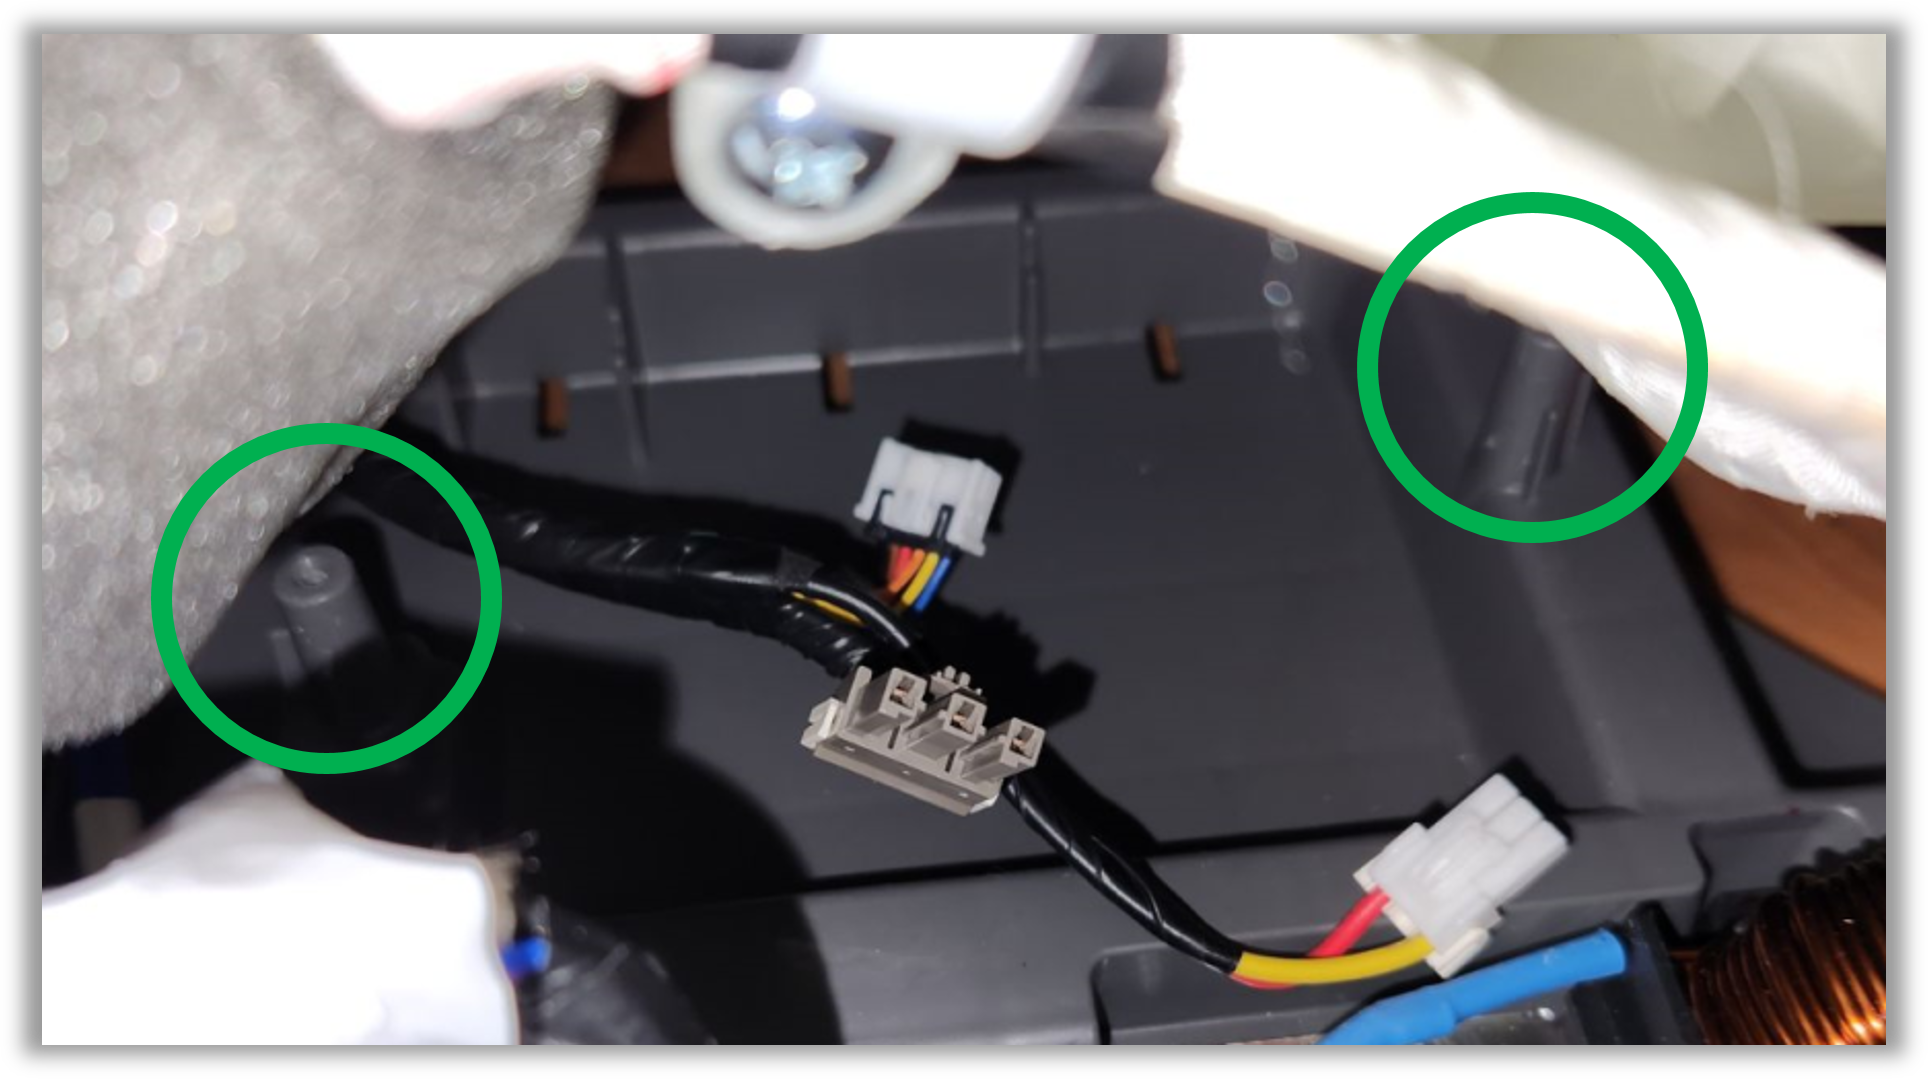
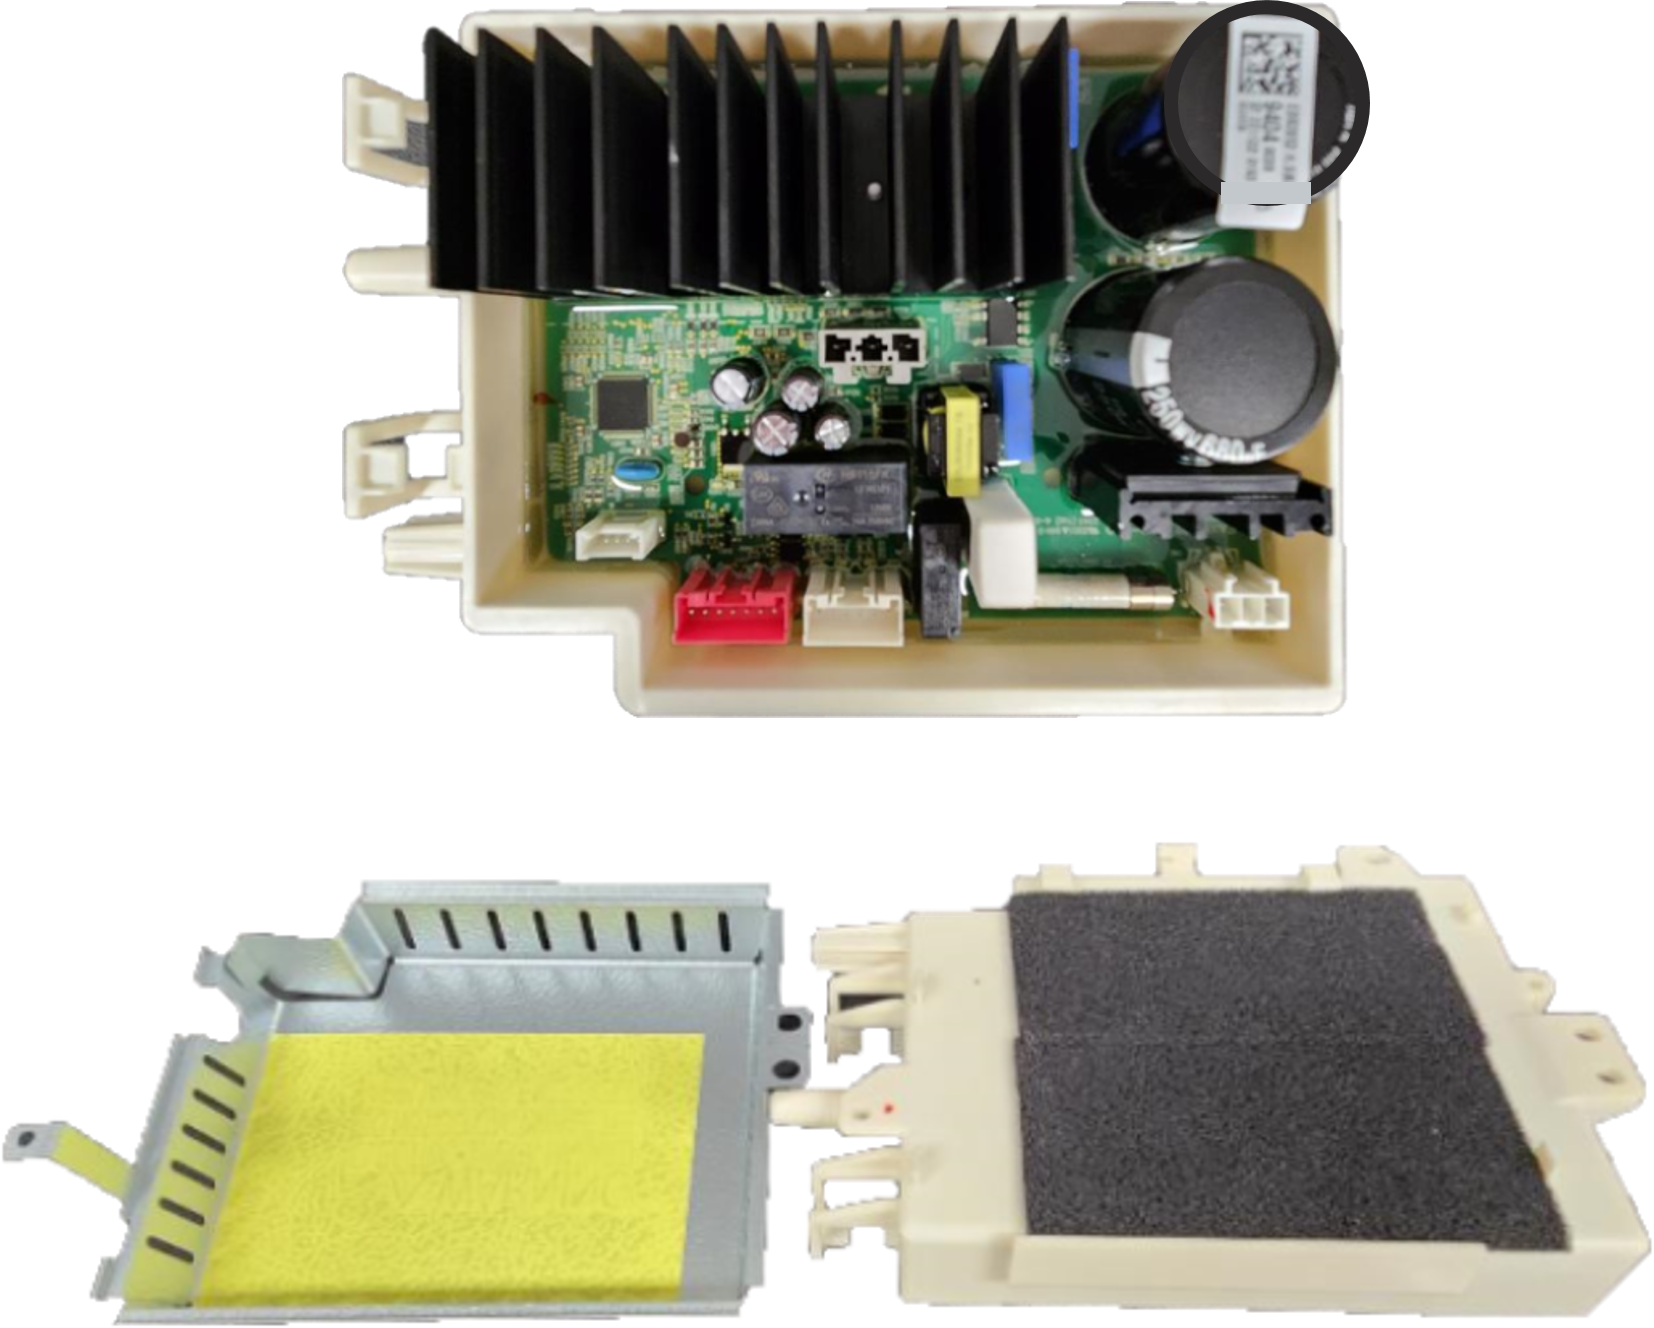
The inverter PCB powers the Stator. Ohm the stator to make sure it is not taking out the Inverter PCB. Check harnesses between inverter PCB and Stator, also between inverter PCB and Main PCB. If stator and harnesses are ok then replace Main PCB and Inverter PCB together at the same time.


4 Responses
We have replaced Inverter PCB, to resolve the issue. But problem valance back in few days.
Please let us know any more thoughts.
The inverter PCB powers the Stator. Ohm the stator to make sure it is not taking out the Inverter PCB. Check harnesses between inverter PCB and Stator, also between inverter PCB and Main PCB. If stator and harnesses are ok then replace Main PCB and Inverter PCB together at the same time.
Did you get a fix? If so what parts were needed
Replaced the inverter, main, and eta for. Error is back again